
In this mixed media art journaling tutorial, I'm exploring how to build beautiful transparent layers using paper collage, acrylic inks and stencils from StencilGirl. I'll show you how I combine different materials and patterns to create texture and depth, while allowing the layers underneath to shine through.
I recently had the pleasure of creating a guest blog for StencilGirl, playing with some of their beautiful stencils in one of my handmade art journals.
If you've been creating with me for a while, you'll know how much I love building layers, experimenting with different materials and simply seeing where the creative process takes me.
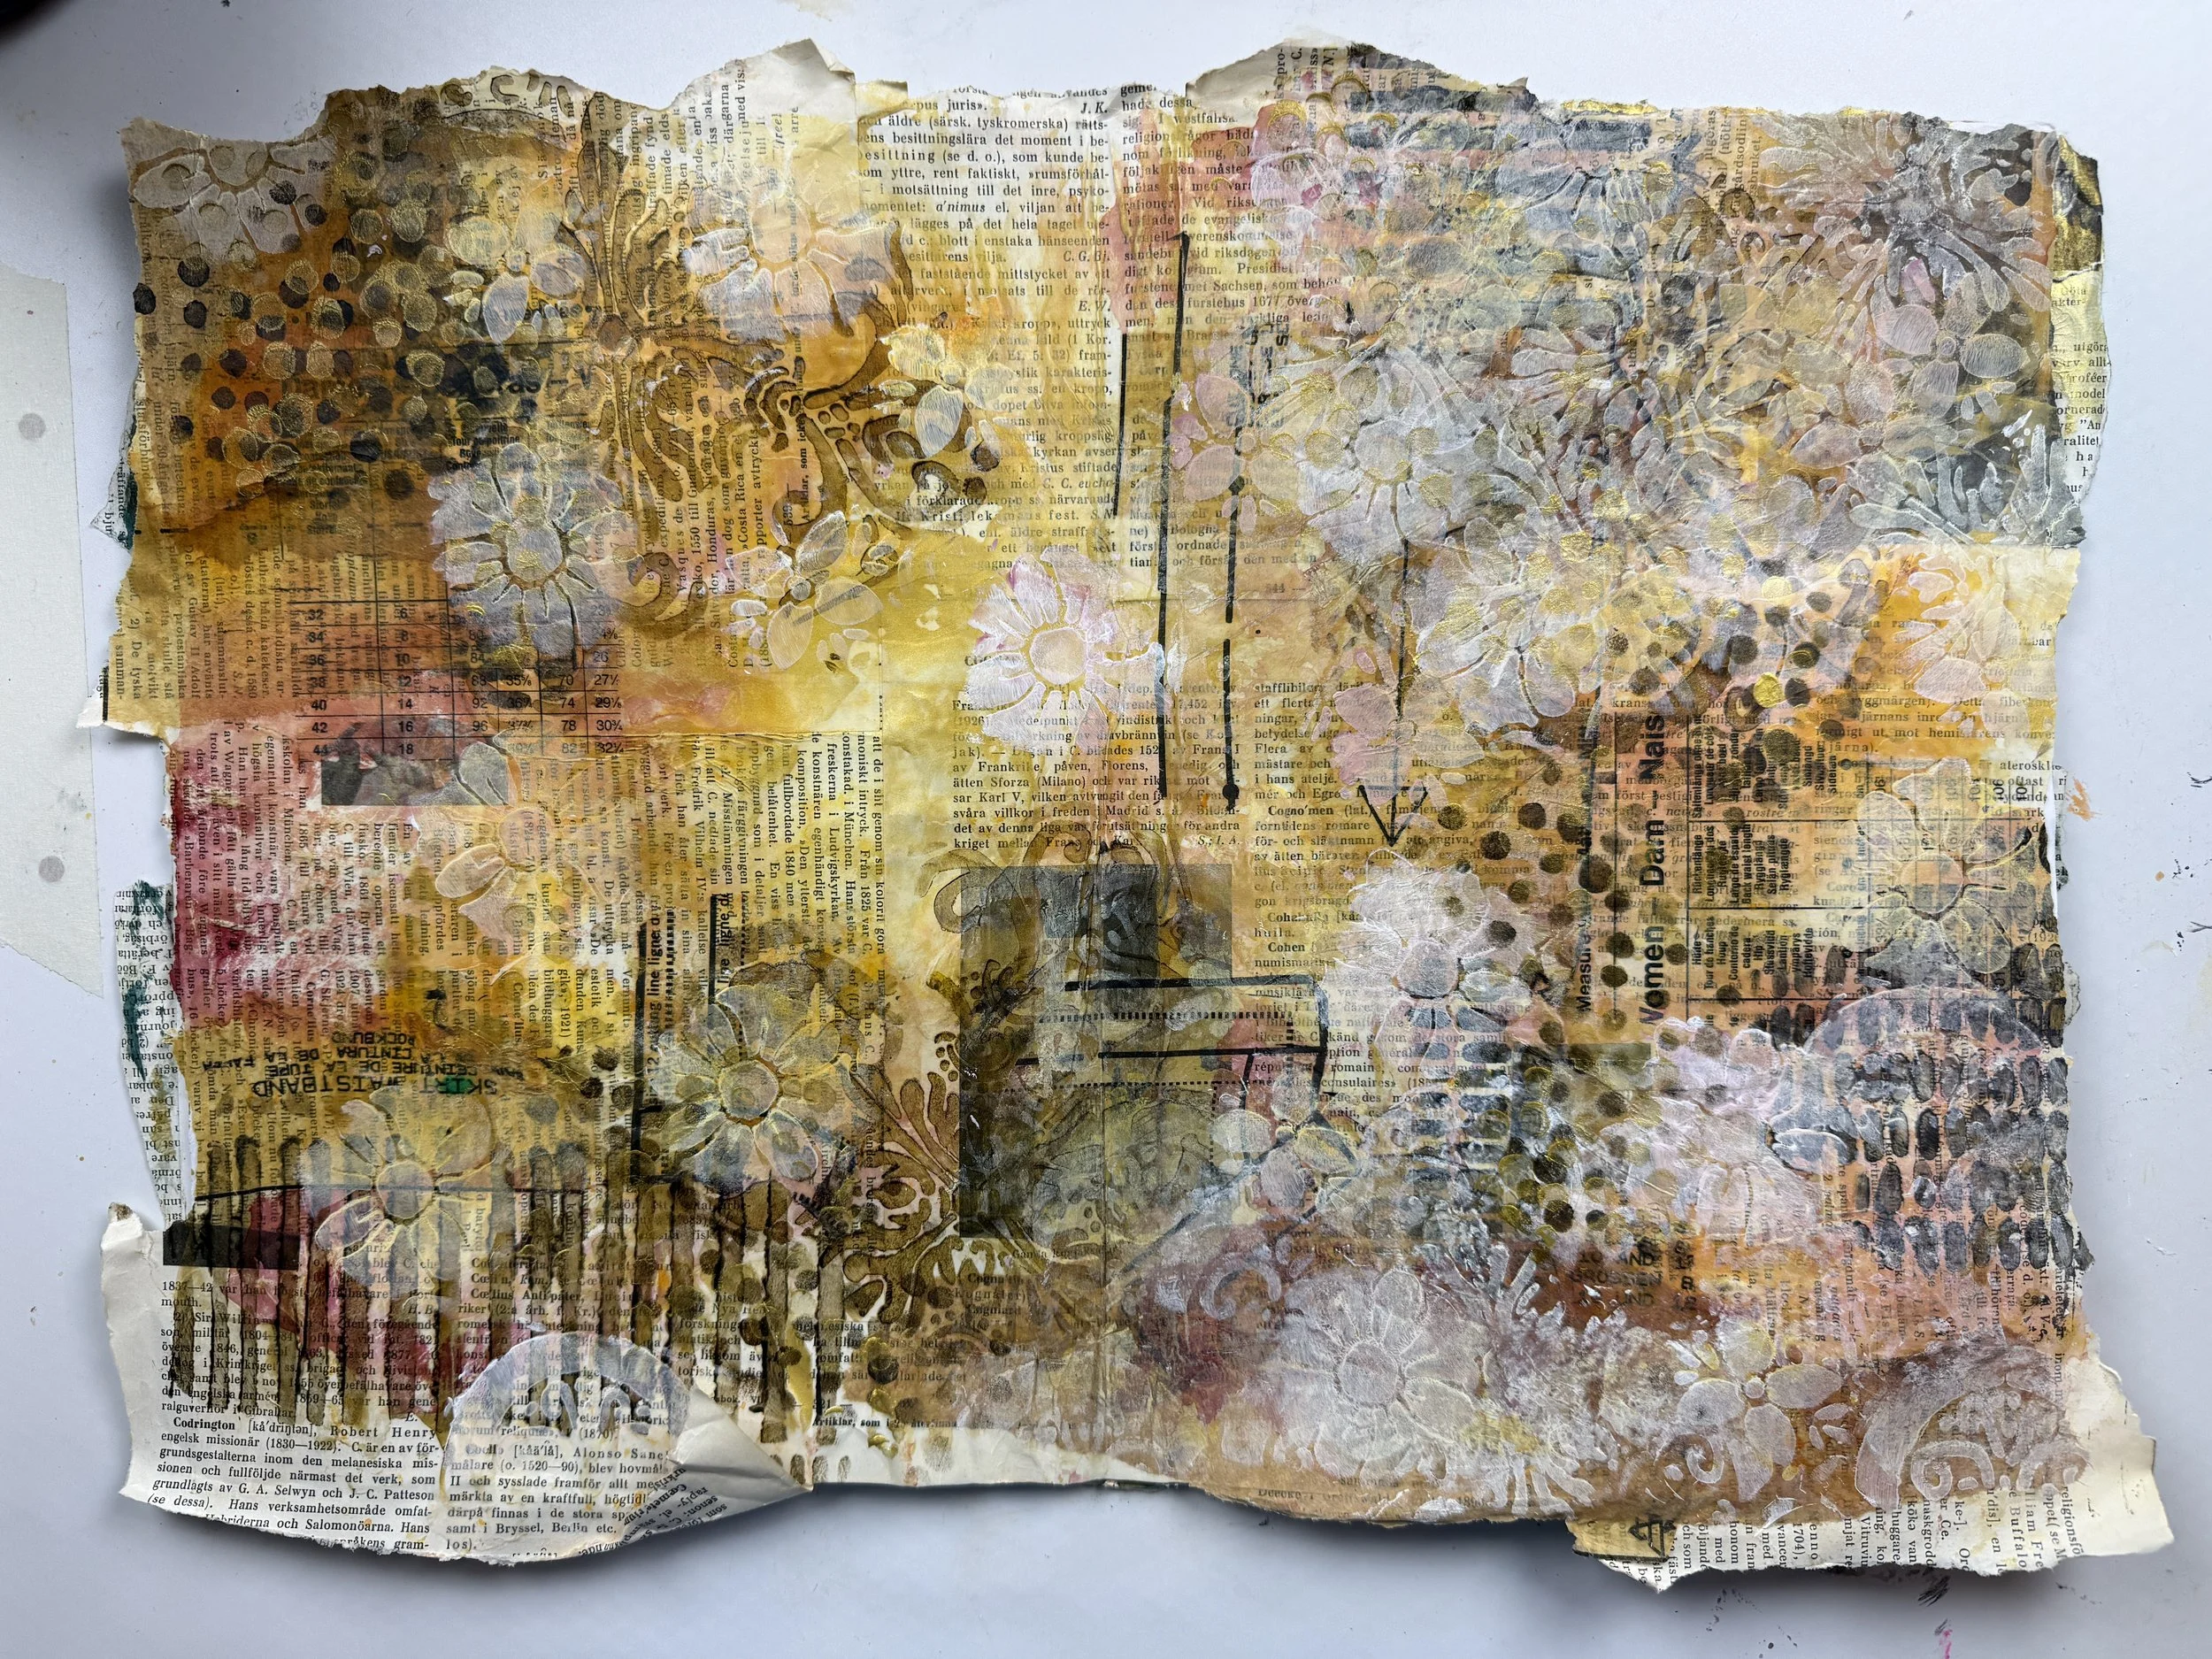
For this page in my journal, I wanted to combine old book pages, tissue paper, sewing patterns, acrylic inks and stencil marks to create a background full of texture, colour and little surprises.
And of course, I didn't have a finished piece in mind when I started. I just wanted to play!
That's one of the things I love most about working in my art journals. I can open a page, reach for a few materials and follow whatever catches my eye. There's no pressure to create something beautiful or even to finish the page. It's simply time to slow down, recharge and enjoy the process.
Materials for Mixed Media Art Journaling
You don't need to have exactly the same materials to explore this technique, but here's what I used for my journal pages.
One of my Books of Flow – a handmade art journal
Old book pages, tissue paper and old sewing patterns
Acrylic paint: Van Dyke Brown, Payne's Grey, Green Gold, Gold and White
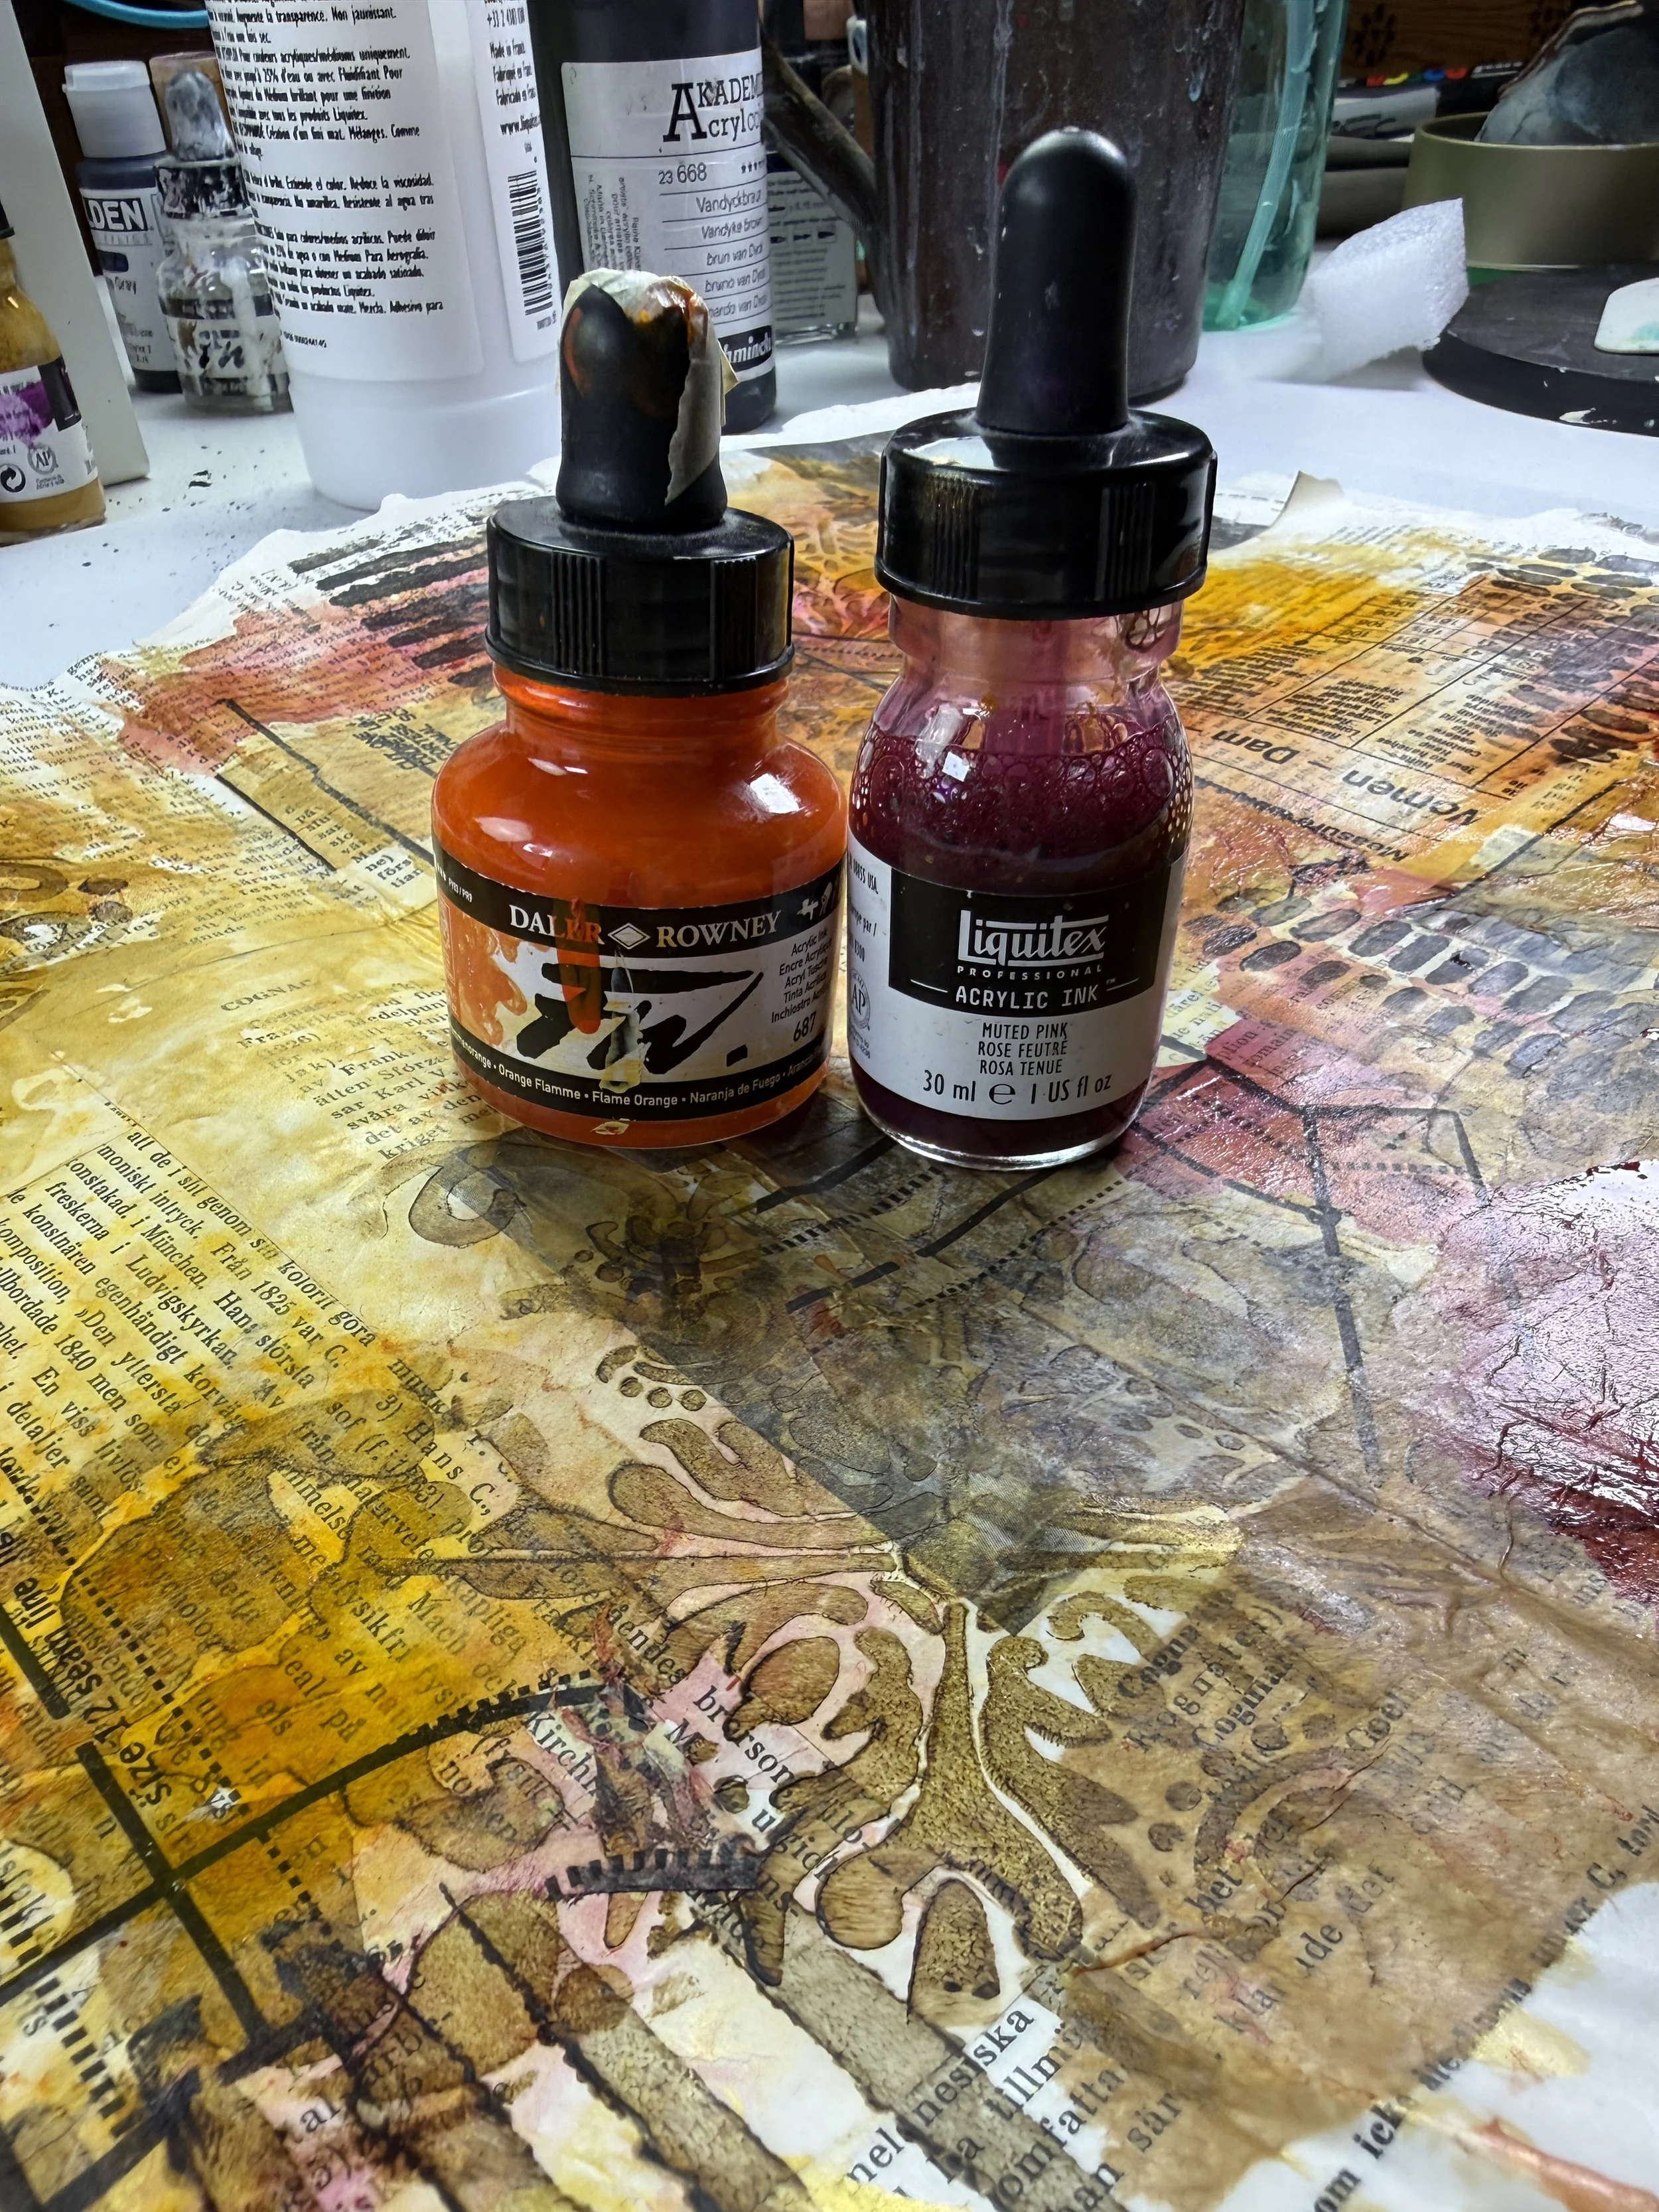
Acrylic ink: Flame Orange and Muted Pink
Liquitex Matt Medium
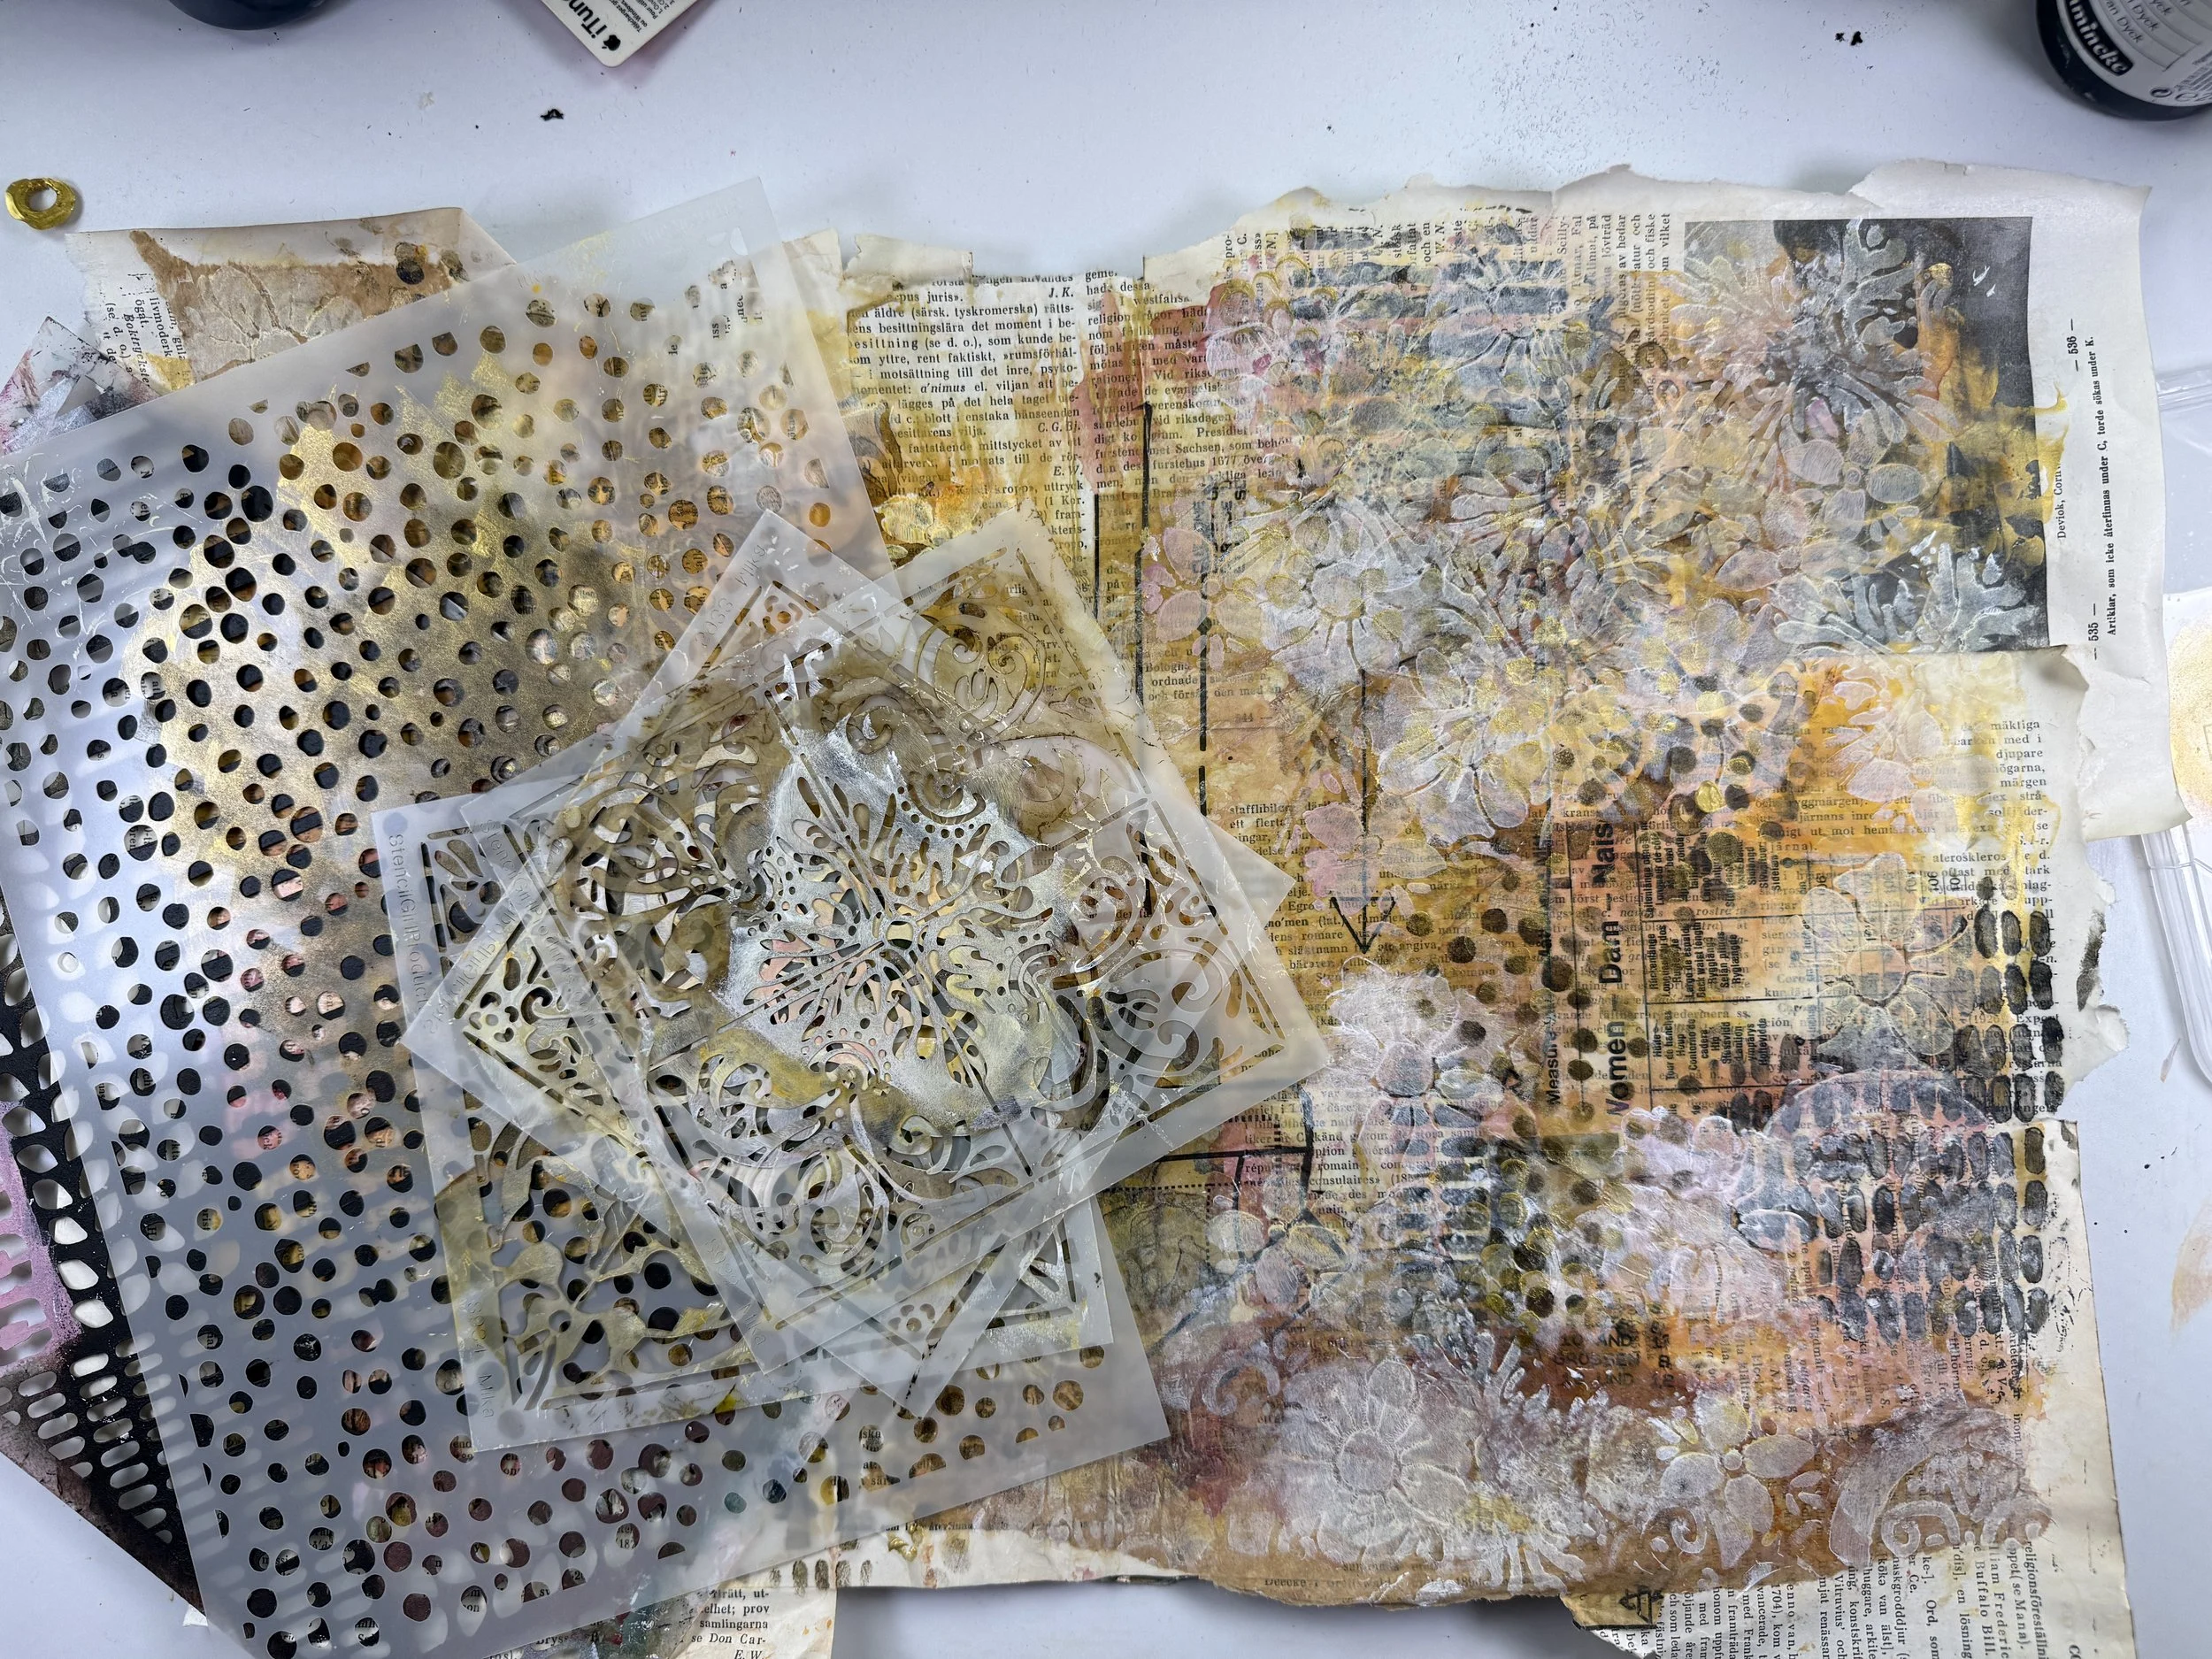
StencilGirl® stencils:
A palette knife, credit card or wedge
Makeup sponge
Recycled plastic lid to use as a palette
A rag and spray bottle
Creating an Art Journal Background with Paper Collage
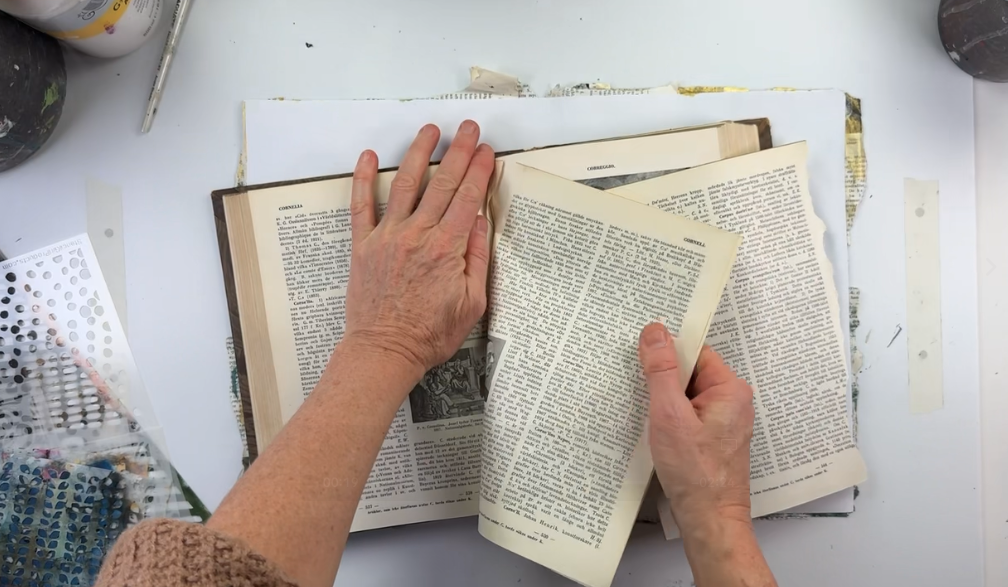
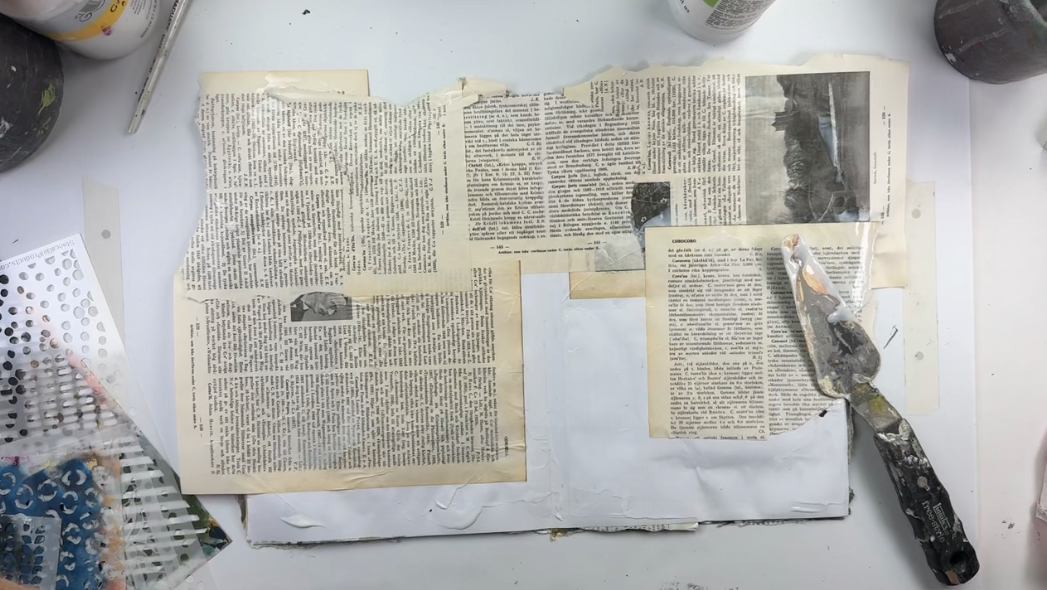
I begin in one of my handmade art journals, adding pieces of old book pages to create the first layer.
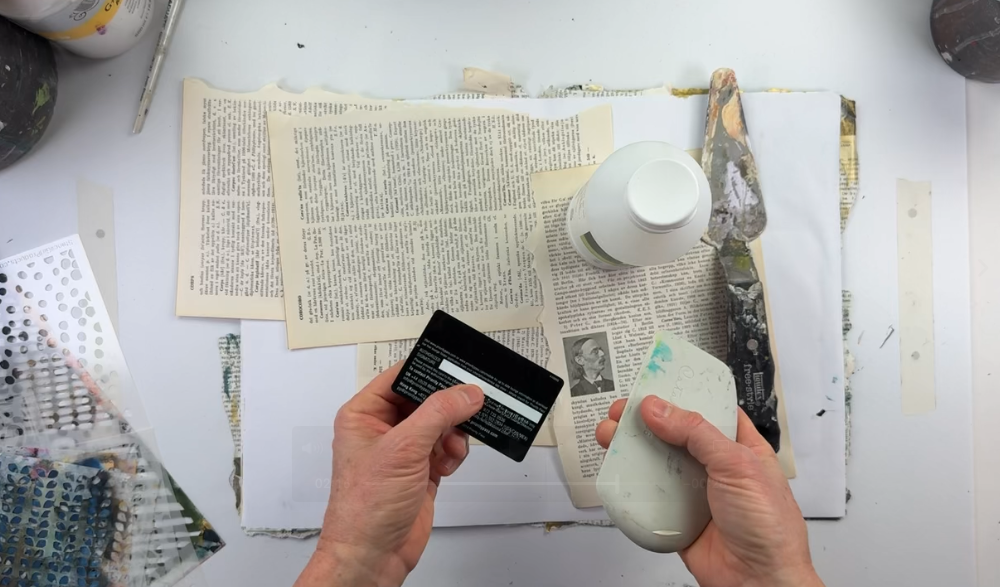
I use Matt Medium and my favourite palette knife to glue the papers down and smooth out any bubbles. A credit card or wedge works just as well.
I love how the words, illustrations and edges of the papers become part of the background. Even though many of these details will eventually be covered by other layers, little glimpses will still show through.
Adding Gold Acrylic Paint for Texture and Depth
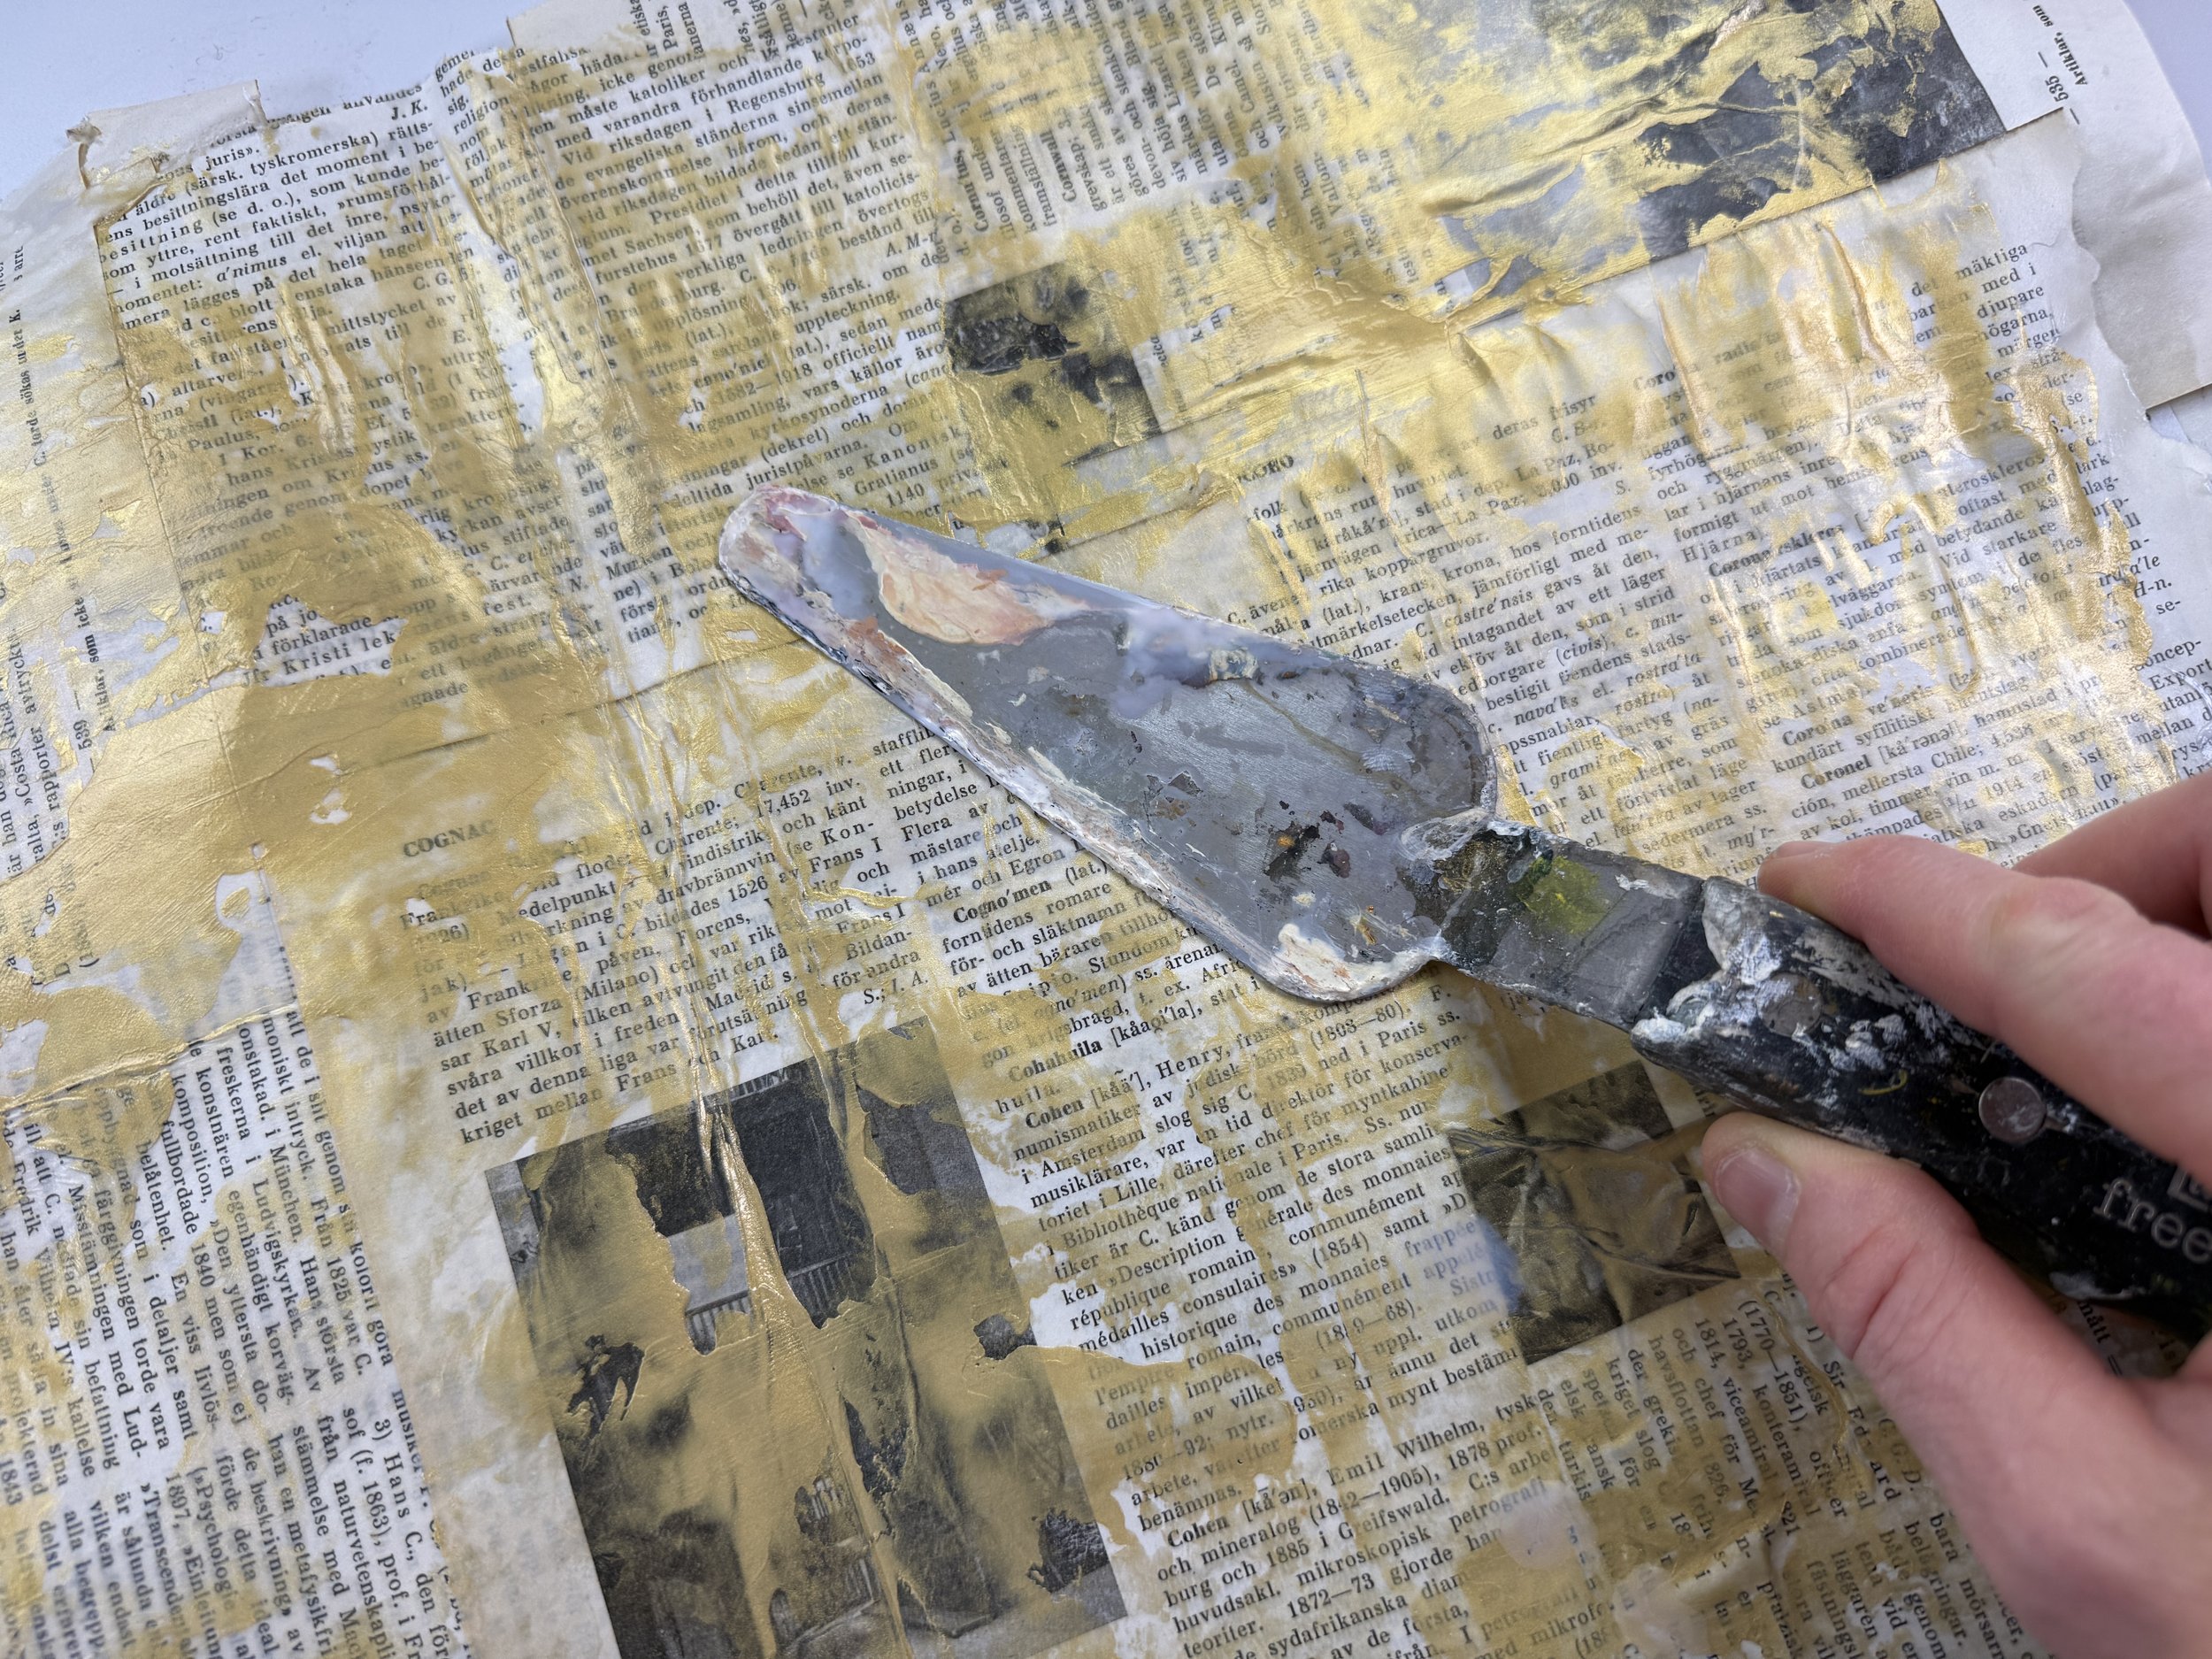
Next, I add some gold acrylic paint using my palette knife.
Gold isn't a transparent paint, but by spreading it thinly across parts of the collage, I can still see much of the background underneath.
I love using gold in my work. It brings warmth to the page and catches the light in such a beautiful way, especially when it peeks through the layers I add later.
Creating Grungy Stencil Marks with Acrylic Paint
Now it's time to start playing with the stencils!
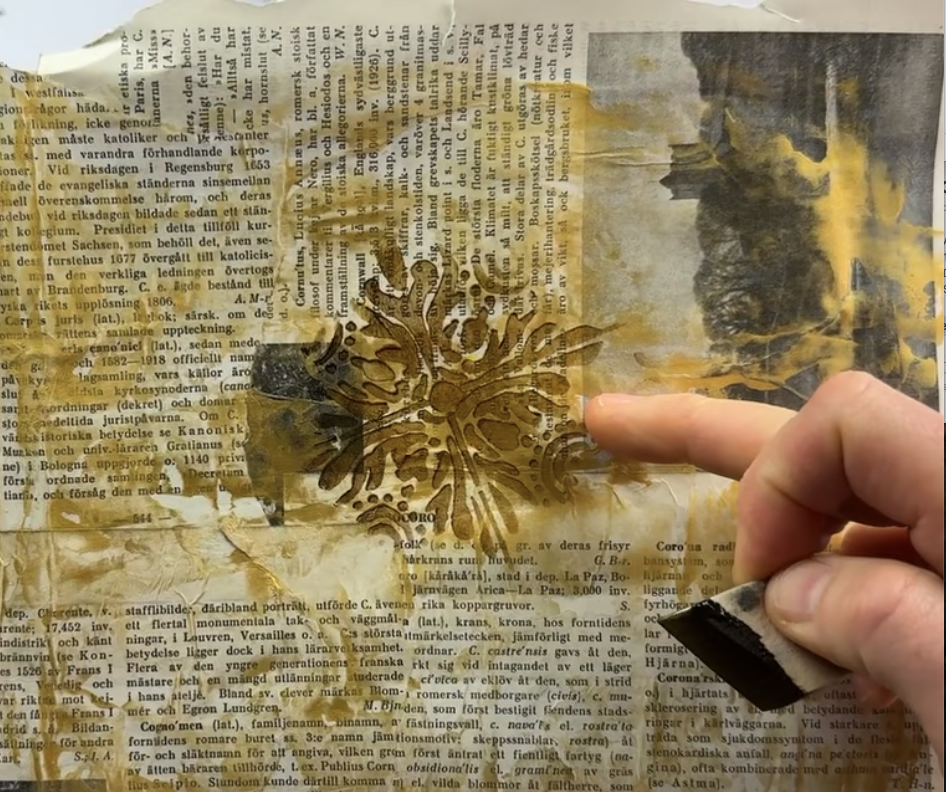
For my first stencil layers, I use a mixture of Van Dyke Brown, Payne's Grey and Green Gold acrylic paint.
I apply the paint with a dry makeup sponge, keeping the layers very thin and allowing the colours to blend and fade into one another.
One of my favourite ways to use stencils is to work with small sections of the designs rather than using the whole stencil.
I combine different marks, overlap patterns and let them become something new. It creates these lovely grungy textures that don't immediately look like individual stencil designs.
And because the paint is applied so thinly, I can still see the book pages and touches of gold underneath.
Using Tissue Paper and Sewing Patterns for Transparent Layers
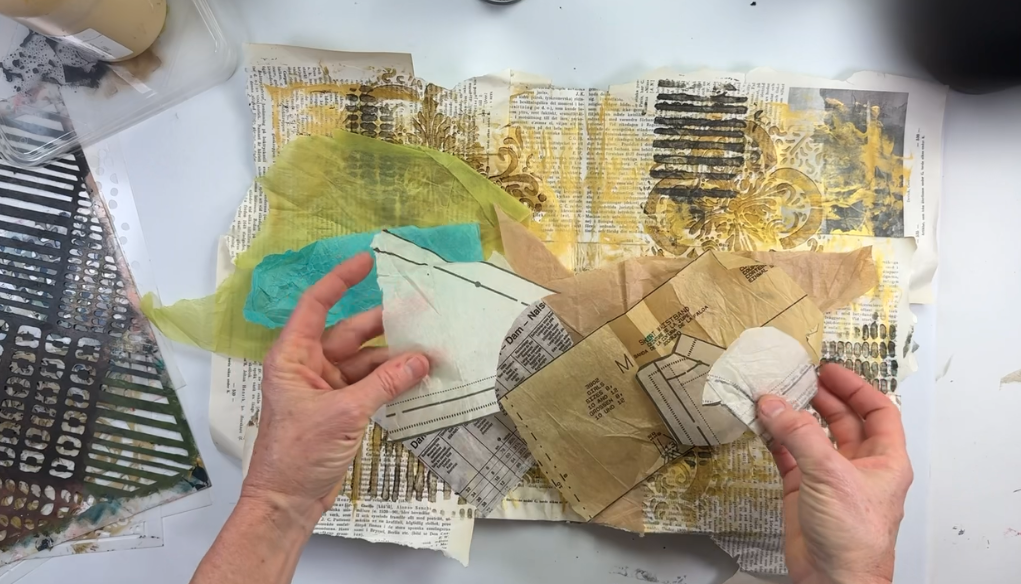
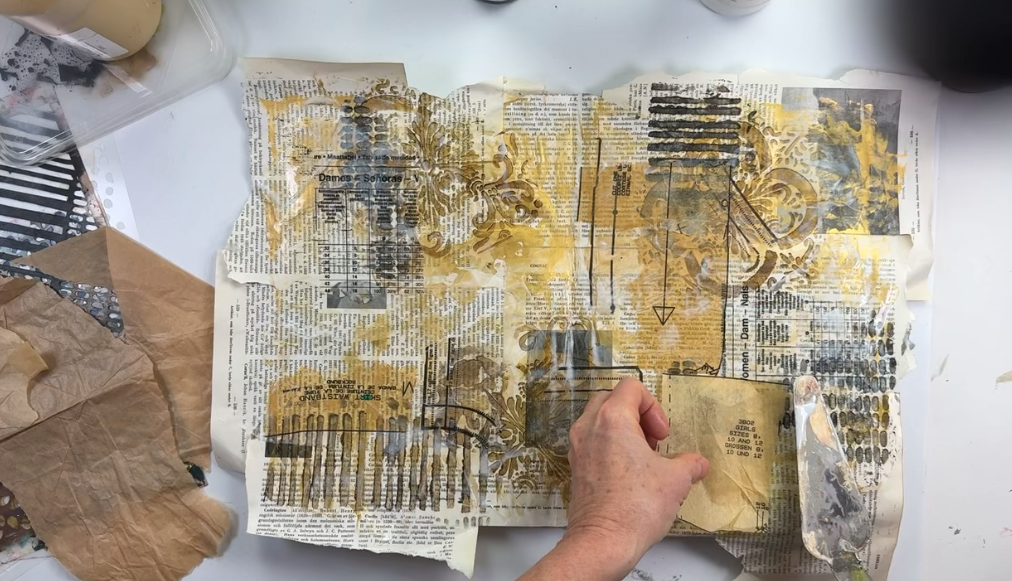
Once I've built up the first stencil layers, I bring in some tissue paper and pieces of old sewing patterns.
I love working with these materials because they add texture and interesting patterns without completely hiding what's already on the page.
The transparency allows the earlier layers to remain visible, creating a wonderful sense of depth and the page really starts to develop its own character.
Adding Transparent Colour with Acrylic Inks
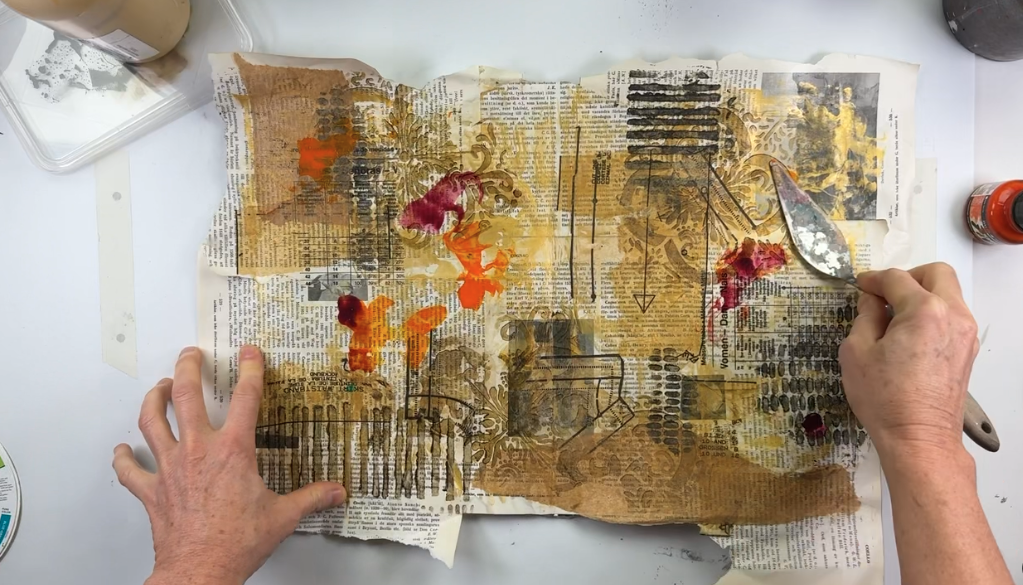
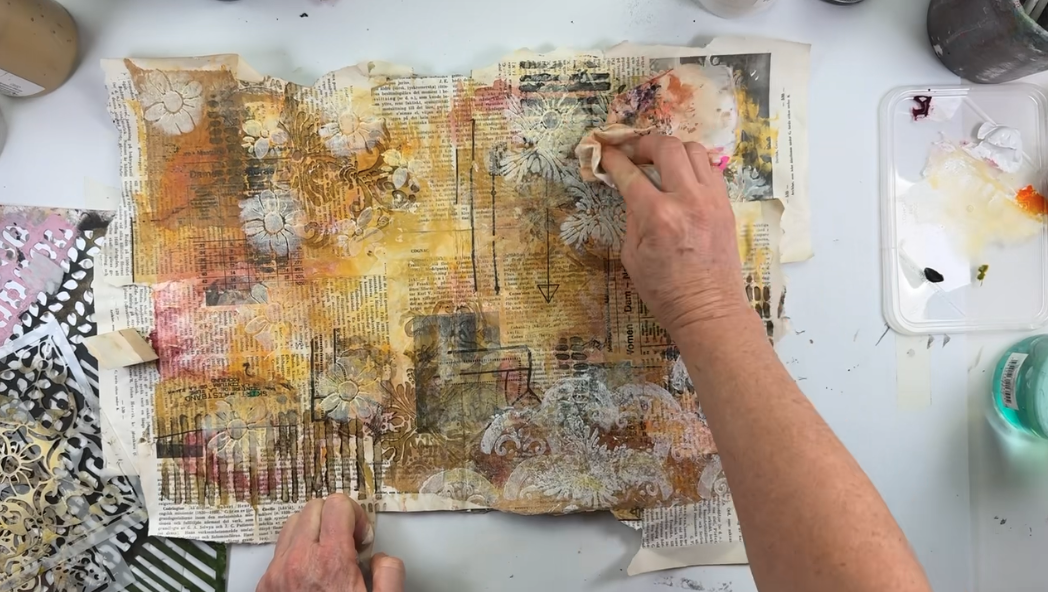
Now I'm ready to add some more colour! For this page, I'm using Flame Orange and Muted Pink acrylic inks to create a lovely warm palette.
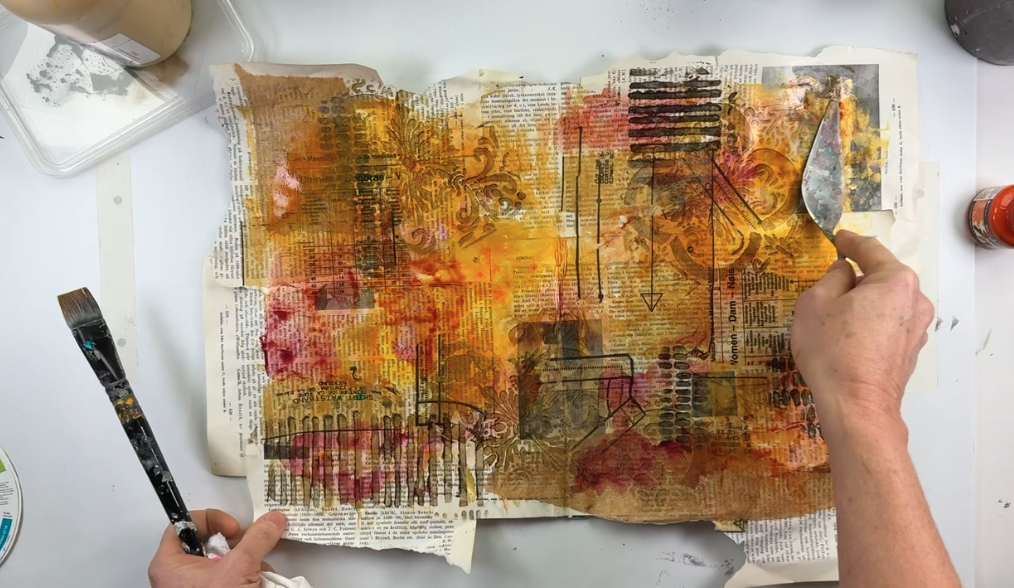
Acrylic inks are wonderful for this because they're so transparent. They bring colour to the page while allowing all those interesting layers underneath to remain visible.
I add some ink, take a little away, add some more and keep working until I like the balance of colour and transparency.
There's no particular formula here. I just follow what I'm seeing and enjoy watching the page change.
Then I let everything dry.
Building Contrast and Depth with Stencils
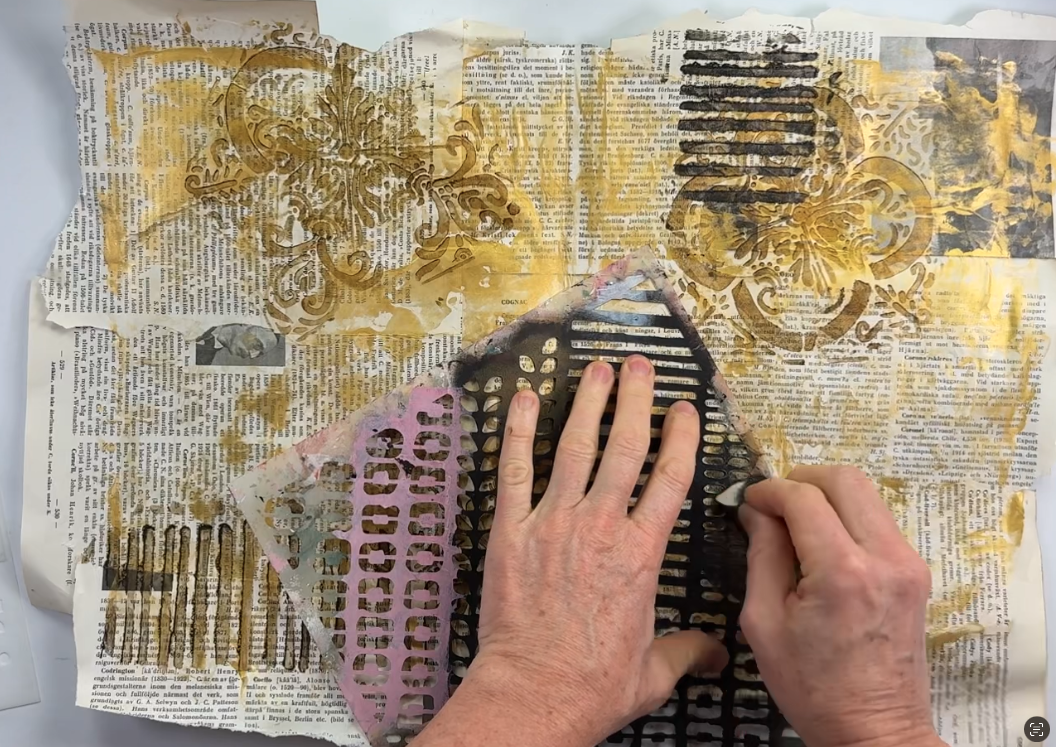
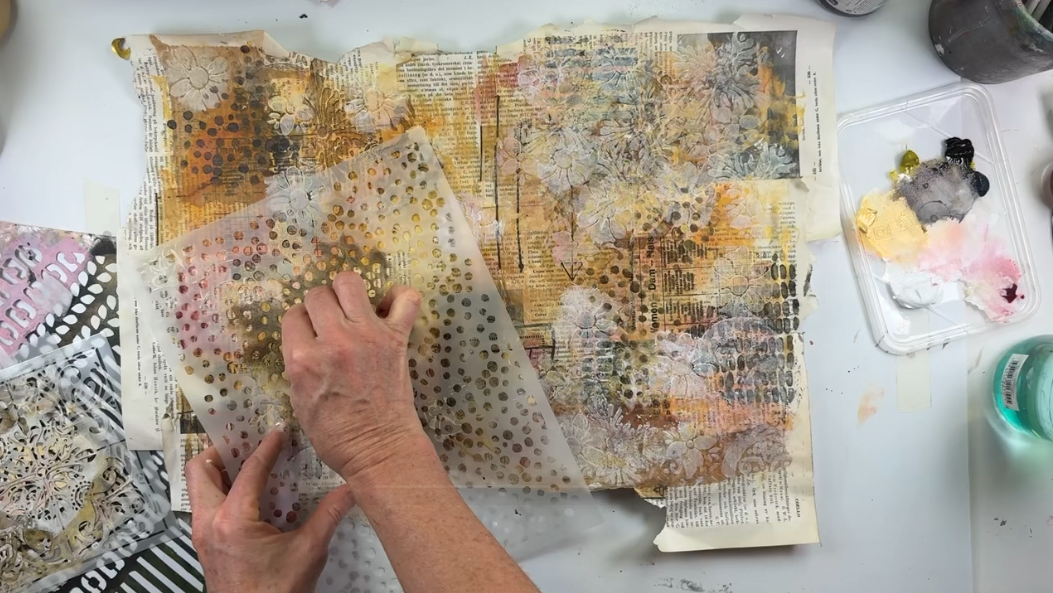
For the next layer, I want to bring in some lighter marks to contrast with the darker colours underneath.
Rather than using plain white acrylic paint, I mix a little of the Flame Orange and Muted Pink inks into the white. This gives me a softer colour that works beautifully with the rest of the page.
I apply the tinted paint through my stencils, letting some areas remain quite transparent while others become more opaque.
I keep adding and taking away paint to build depth and that lovely grungy feeling.
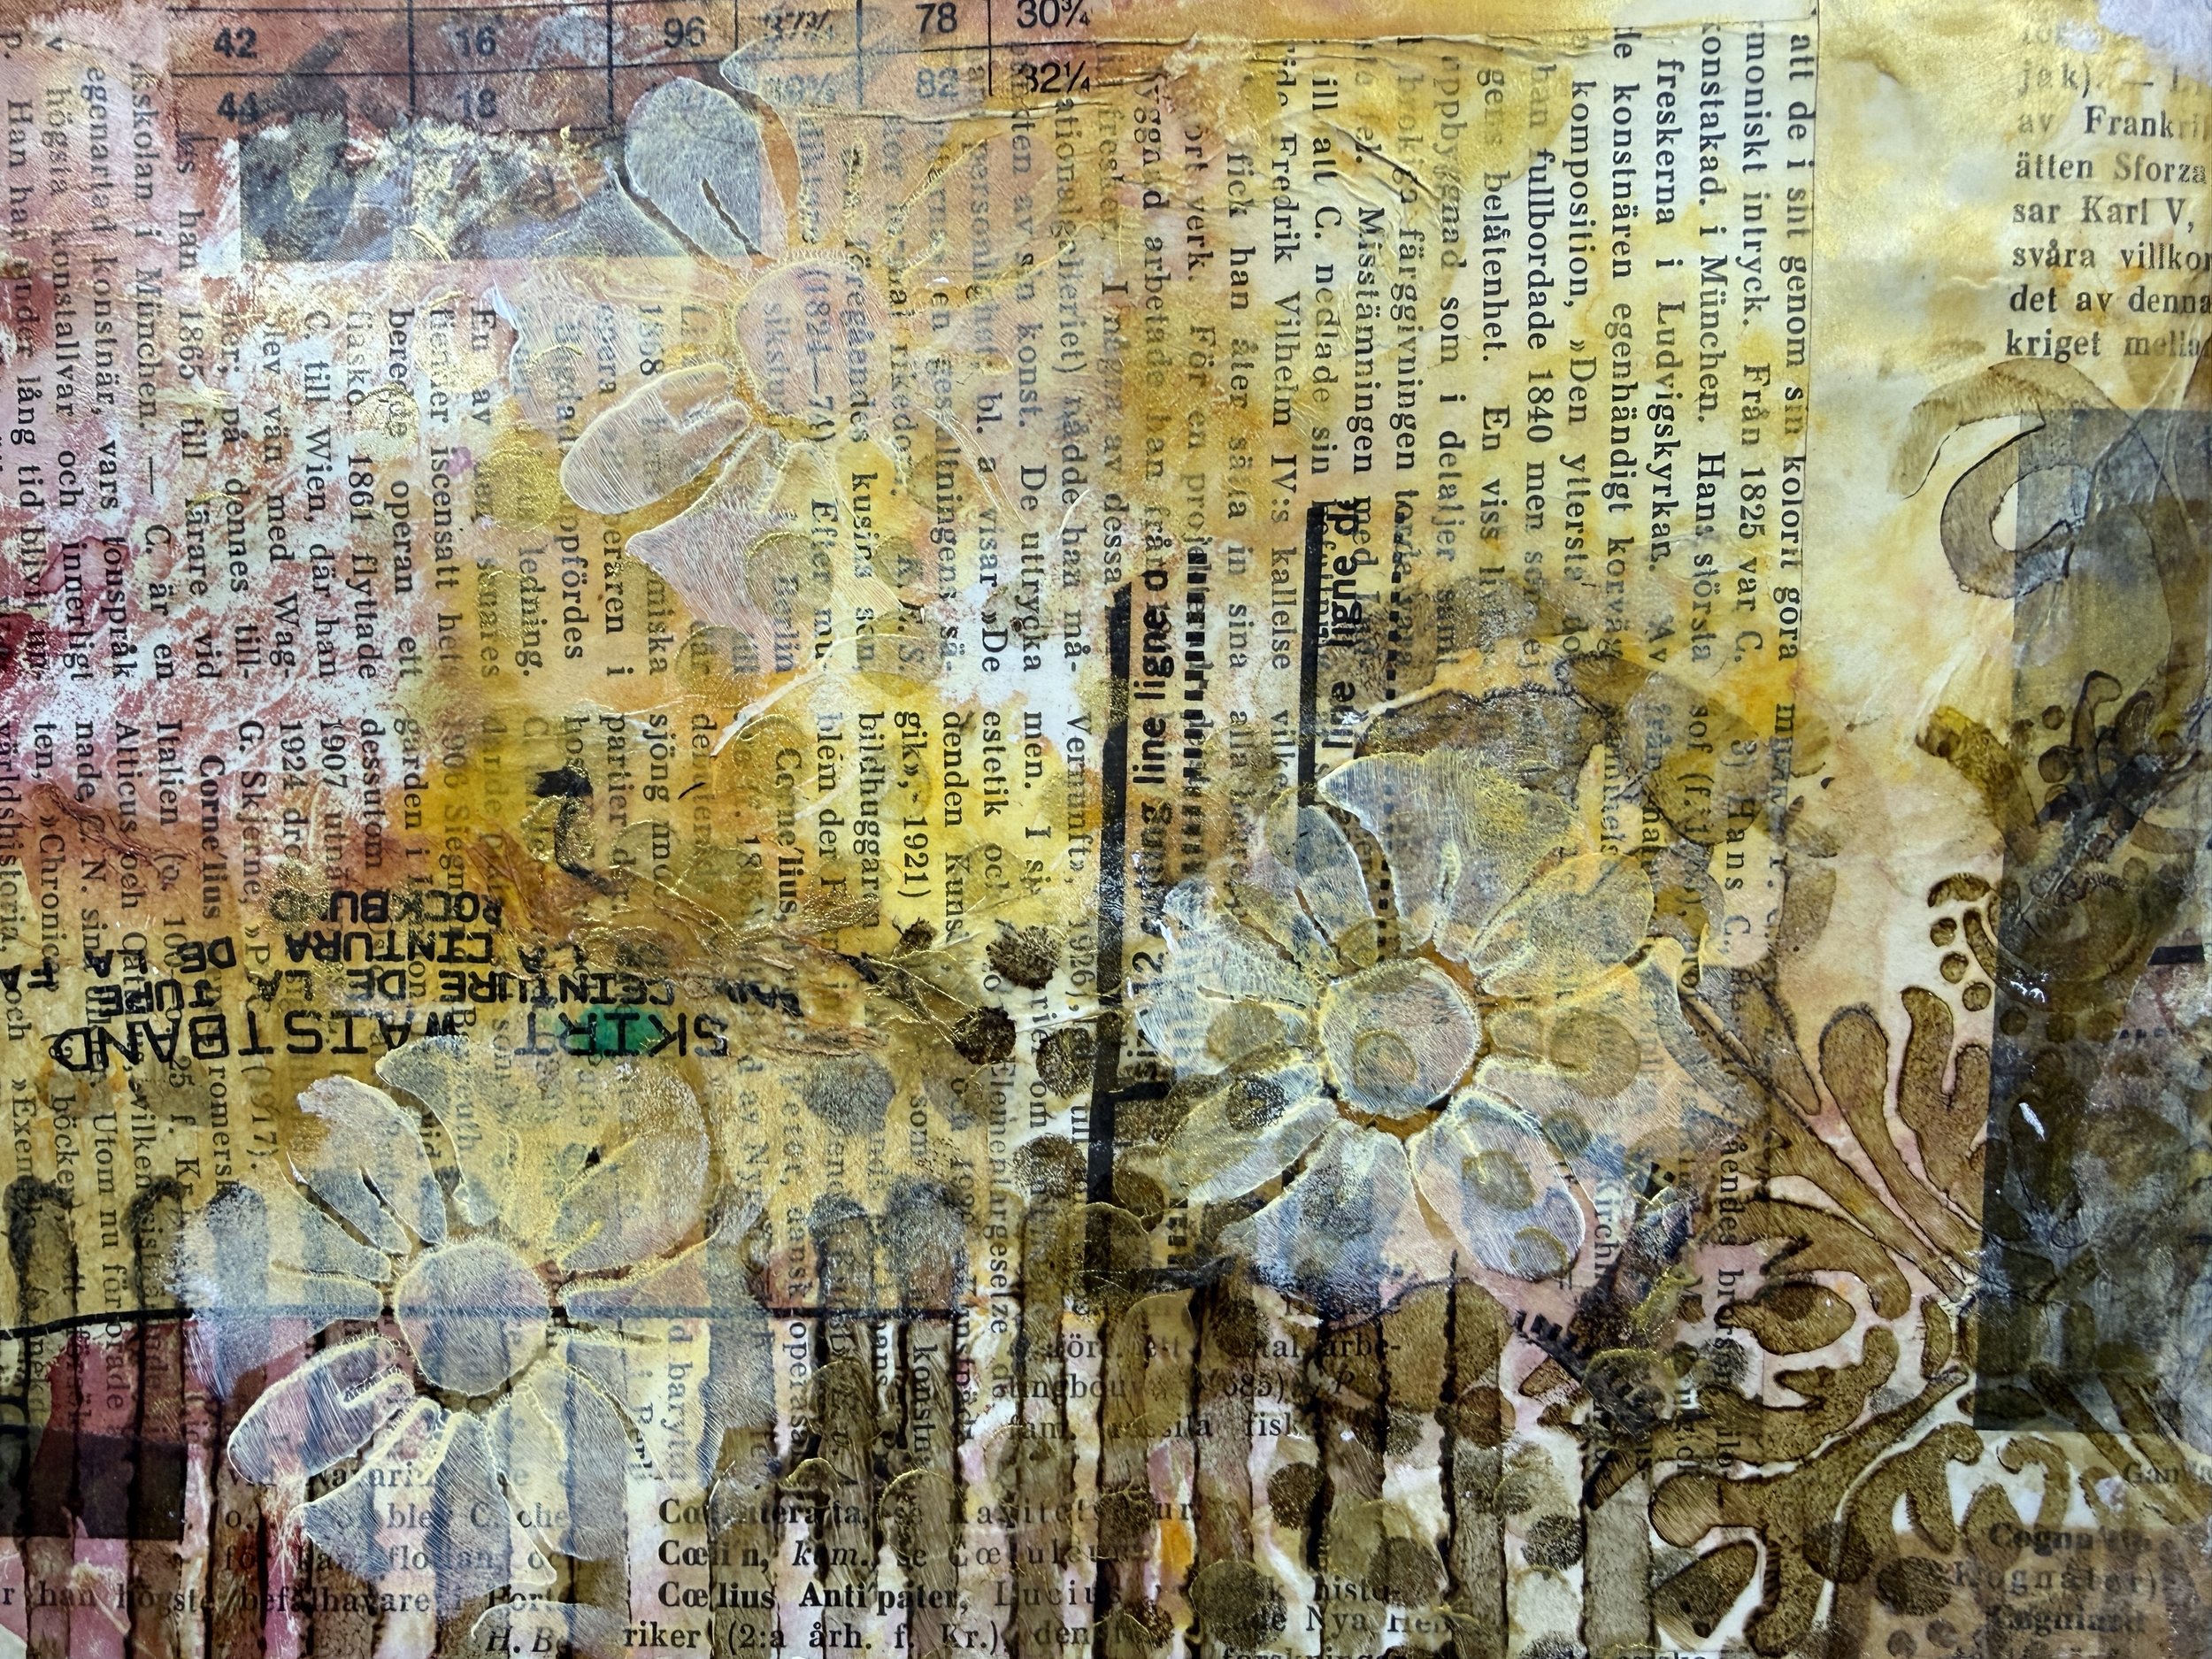
And I really like the flowers, so I find myself adding more of those!
For a little more contrast, I add some dark dots using the same darker colours from my first stencil layers.
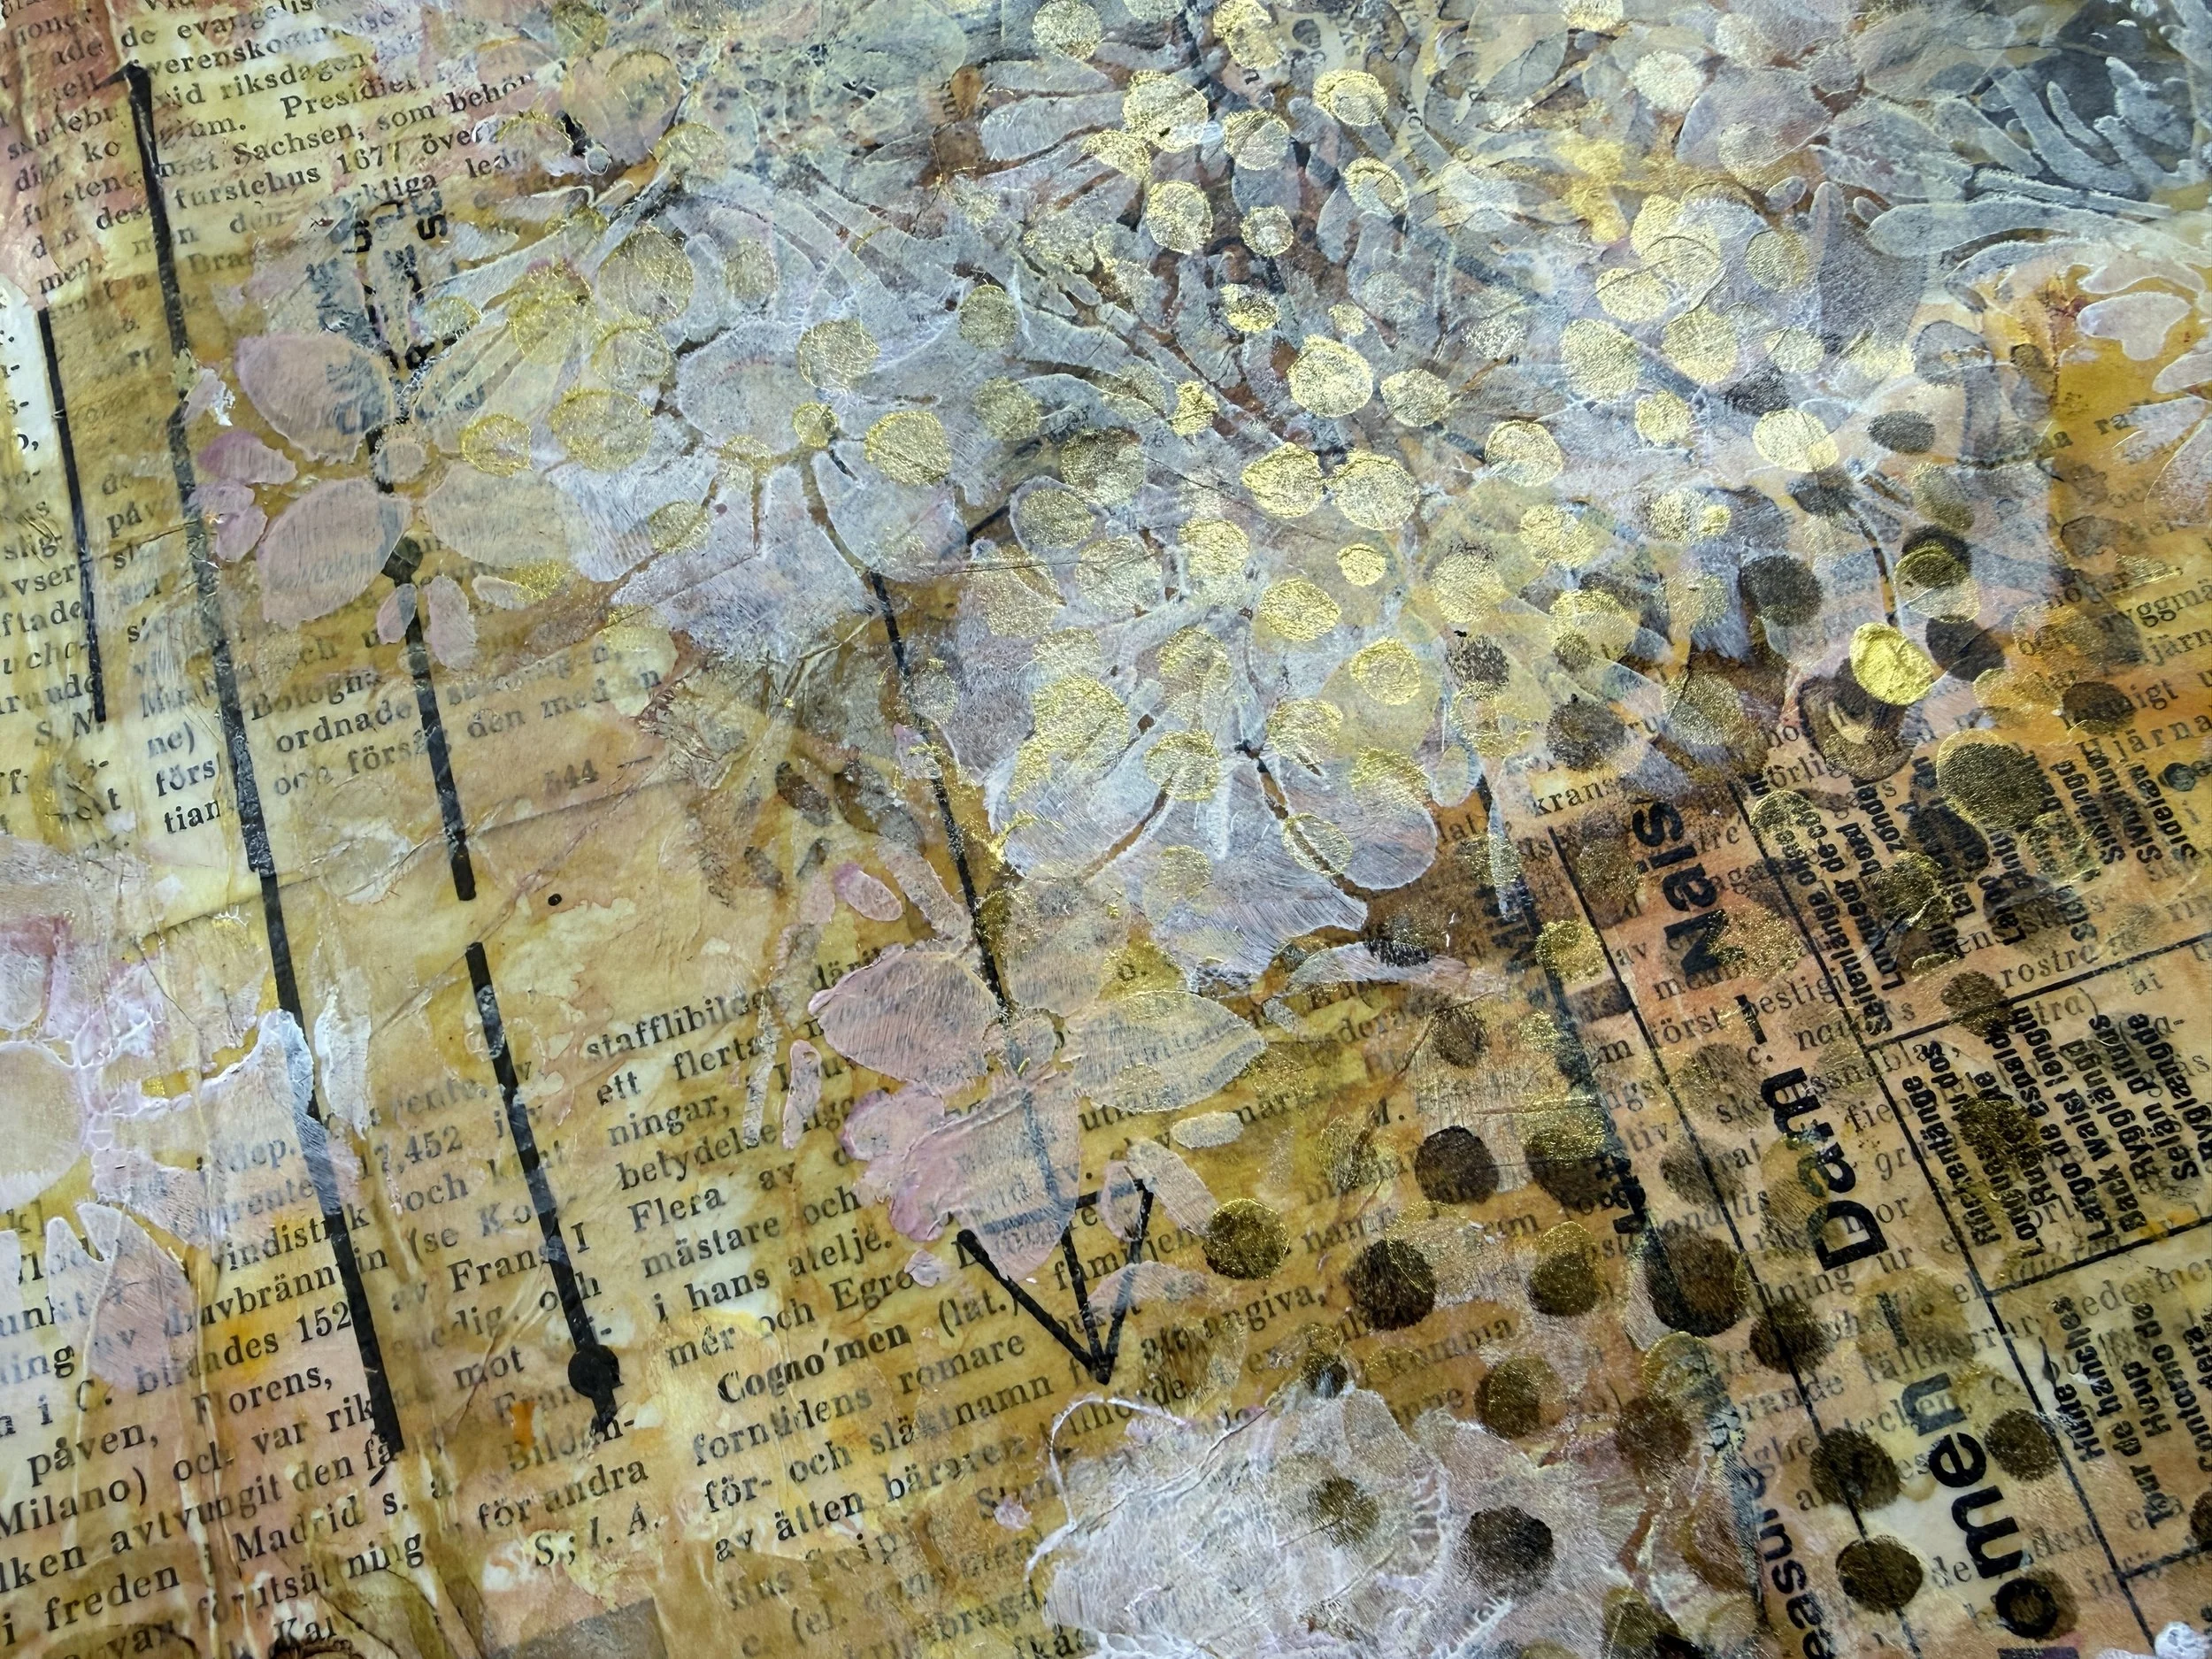
And finally, another touch of gold.
I love how the gold brings everything together and makes the page come alive when the light catches it.

Enjoying the Intuitive Art Journaling Process
This is what I enjoy so much about art journaling.
I can spend time playing with different materials, following what I see and making decisions as I go along. I don't need to know what the finished page will look like, and I certainly don't need to worry about whether it's going to be beautiful.
The time spent creating is the important part.
Sometimes I might continue working on a background like this and add a face or another focal point.
But this time, I decided to leave it just as it is. Well, at least for now!
I love how every layer is still part of the finished page. The old book pages, the sewing patterns, the stencil marks, the inks and the gold all have their own little place in the story.
Nothing has to disappear completely beneath the next layer.
If you feel inspired to have a go, gather a few papers, some paints and your favourite stencils and see what happens.
Try overlapping different patterns, experiment with transparent materials and let the colours and marks guide you.
You don't need a plan or a particular result in mind.
Just relax, enjoy the process and go with the flow!
Watch the Mixed Media Art Journaling Tutorial
I filmed the whole process for my StencilGirl guest feature, so if you'd like to see how these layers came together, you can watch the video below.